Adding Instagram as an Inbox channel
Feb 25, 2023
In this article, we'll walk you through adding Instagram as a channel! Before you start, see if you're eligible.
Requirements
An eligible Instagram Business account.
A linked Facebook page and admin access to that page.
Messaging permissions enabled.
The number of Instagram followers that your Instagram Business account has (approximately).
Good to know
The rate limit for inbound media (including story mentions and images) is currently 2 per second. This rate will be increased in the near future.
Once this has been completed, please test your channels to make sure they are creating conversations/tickets in Inbox. If they aren't, please refer to the article How to connect and disconnect a channel from Inbox.
Add Instagram Business as a channel
To add Instagram for Business as a channel, follow these steps:
If you're an existing MessageBird customer, log in to your MessageBird Dashboard. If you're a new customer, you can get started on our Instagram landing page.
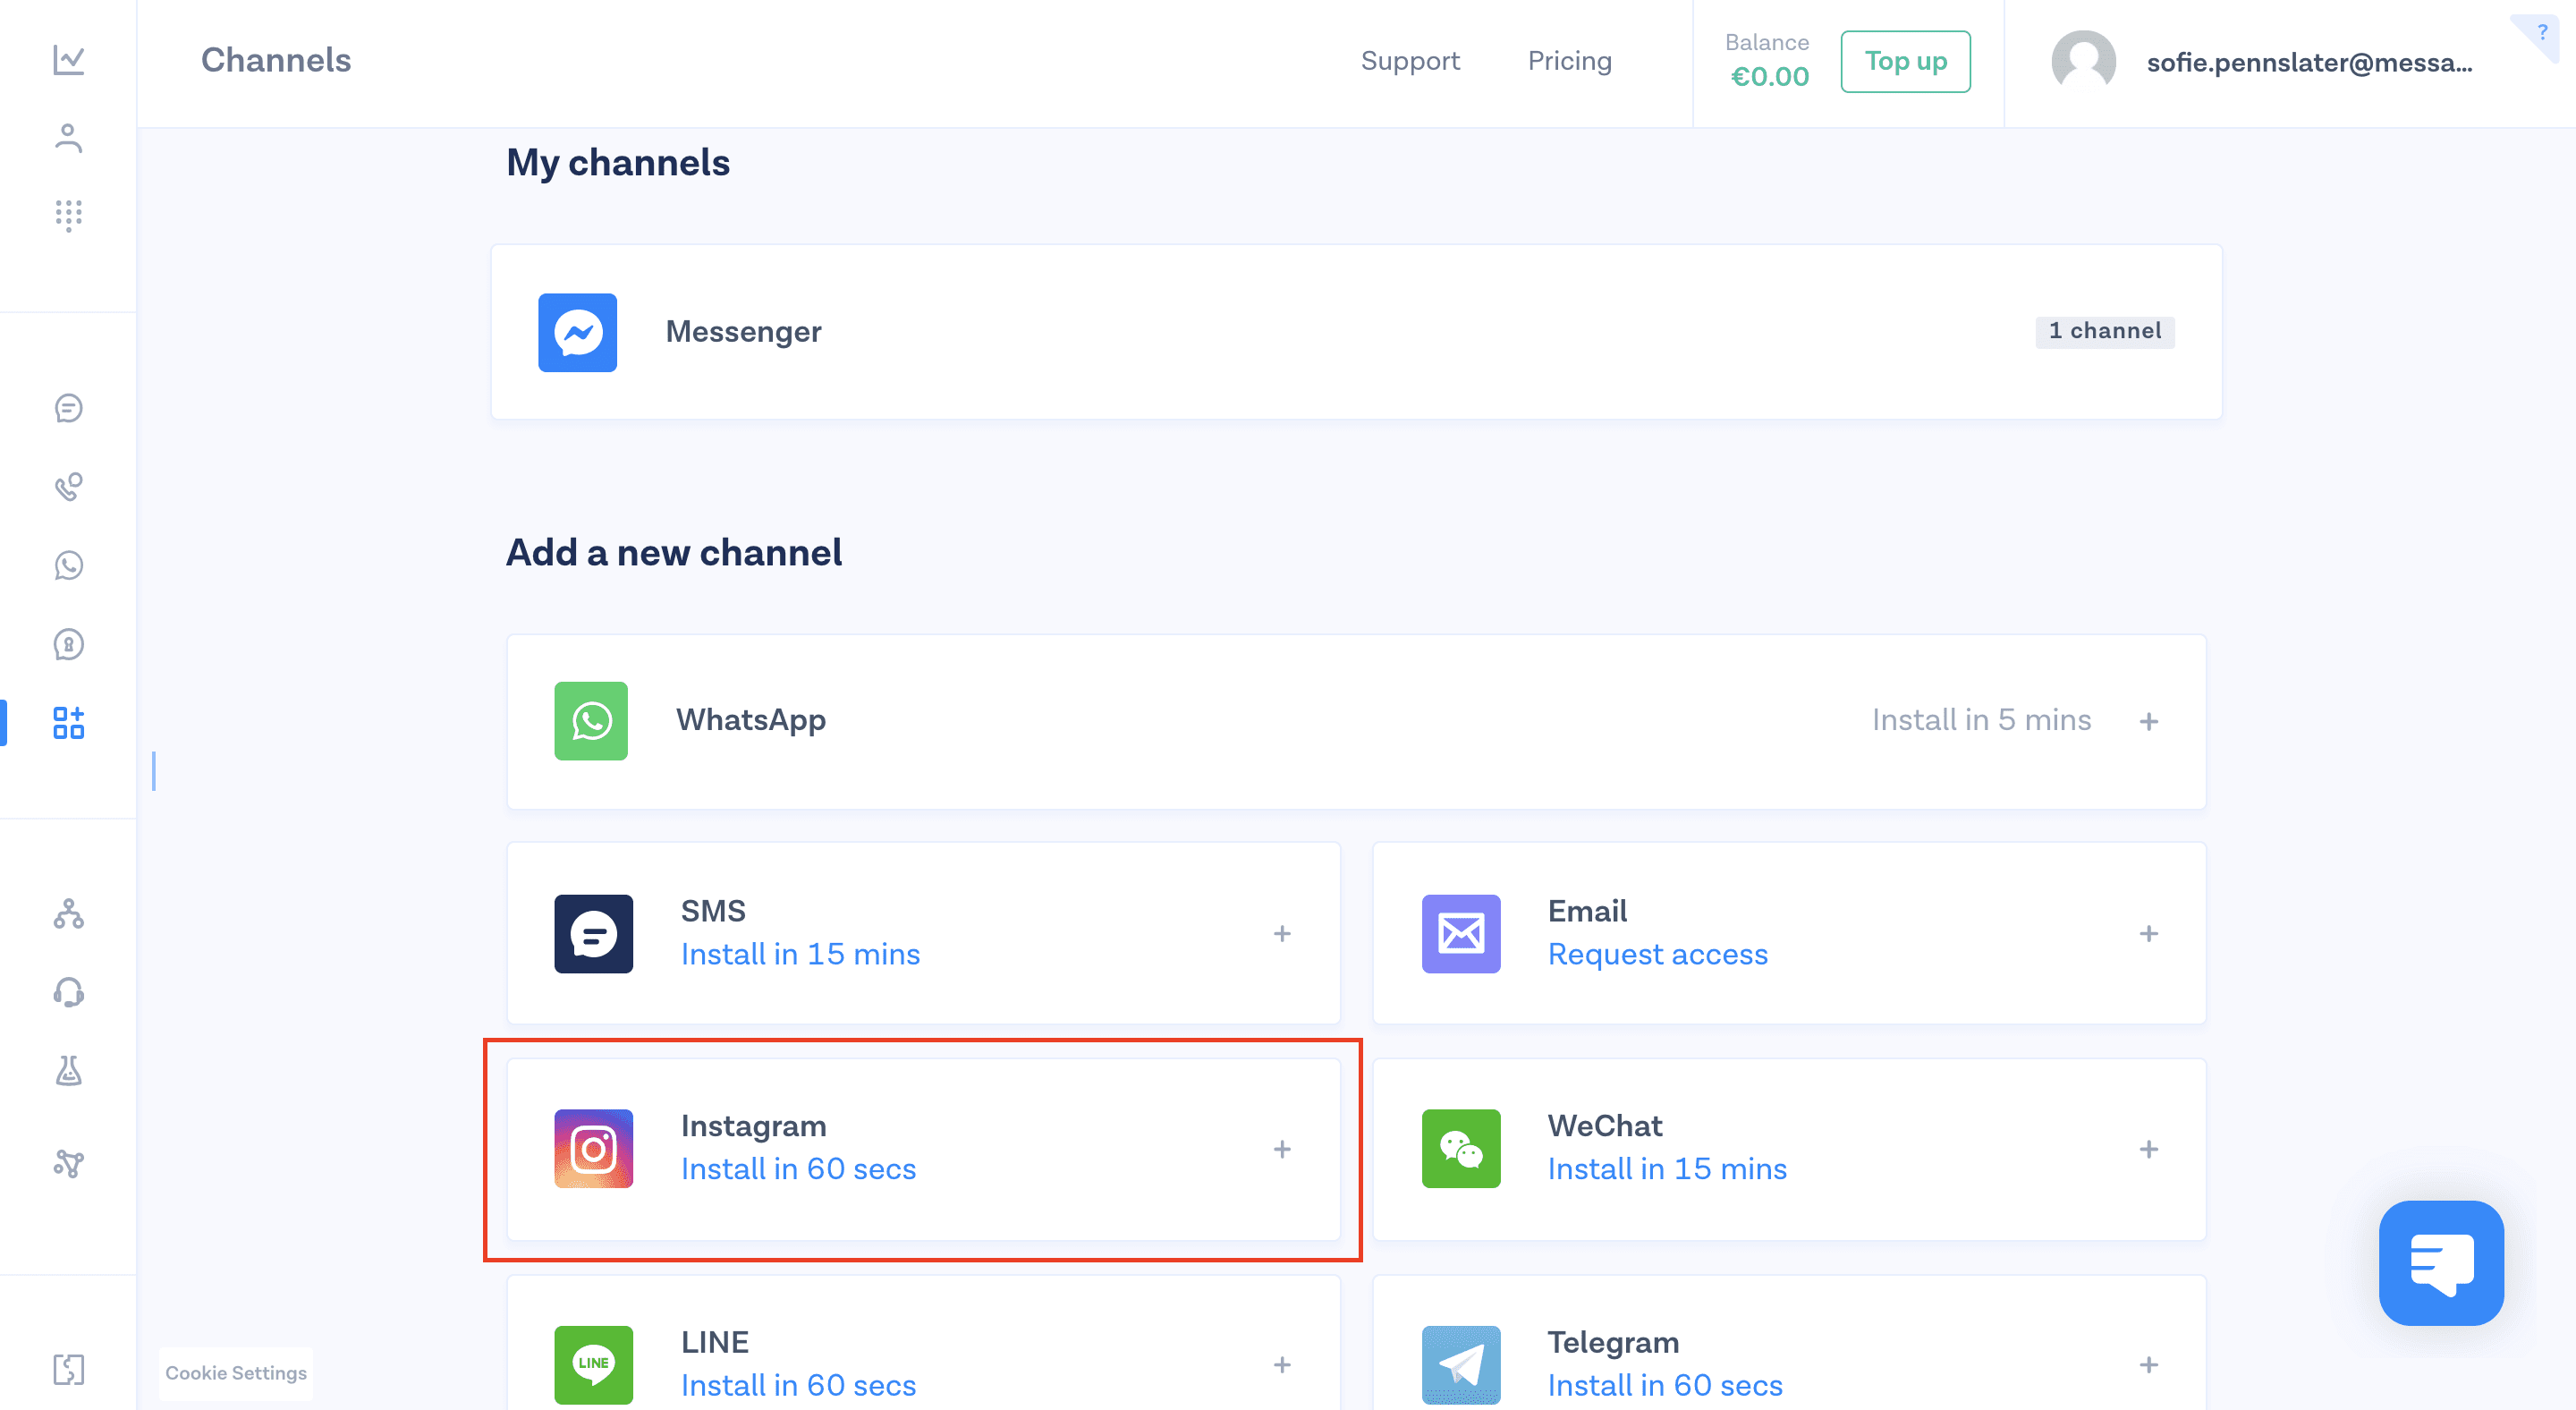
Go to Channels by clicking the Channels icon on the toolbar on the left-hand side of your screen.
Click Instagram. You’ll be taken to an embedded sign-up flow.

On the first page, confirm that you have an Instagram Business account.
Tell us how many followers your Instagram Business account has, then click Continue.
On the next screen, we’ll ask you to confirm that your Instagram Business account is linked to a Facebook page. Confirm this, then click Continue.
Next, we’ll ask you to check that you have messaging permissions enabled. Once confirmed, click Continue.
Now you’re ready to add Instagram as a channel! Click to launch the Facebook pop-up, and follow the instructions on the screen.
Once completed, a QR code will appear that you can scan to start using Instagram Business as a channel!
Adding your Instagram channel to Inbox
Once Instagram has been installed, you’ll be able to select it when using the Omnichannel message trigger, (or as a stand-alone trigger):
For a new flow, using the omnichannel trigger:
From your MessageBird Dashboard, navigate to Flow Builder.
Click Create new Flow, then select Create Custom Flow.
Select Omnichannel as the trigger, then click Next.
In the trigger settings on the right-hand side of your screen, select Instagram, and any other channels that you want to include, then click Save.
Set up your flow as required, then click Publish to set the flow live.
For an existing flow, using the omnichannel trigger:
From your MessageBird Dashboard, navigate to Flow Builder.
Locate the Omnichannel flow that you want to add Google Business Messages to, then click Edit.
Click the Omnichannel trigger, then select Instagram from the list in the trigger settings on the right-hand side of your screen, then click Save.
Click Publish to set the flow live.
How to link your Instagram profile to a Facebook Page
Log into your Instagram Business profile on a mobile phone.
If you haven’t already, convert your Instagram profile to a Professional Account — and set it to Business.
Go to Settings, then click Business.
Click Connect or Create.
You can choose to connect an existing Facebook page or create a new one.
If you aren’t already logged into your Facebook account, do it now.
You’ll be prompted to set up your Accounts Center.
Click Yes, Finish Setup.
Select the page that you want to connect the profile to, or create a new one.
Click Done to finish the process.
How to enable ‘Access to Messages’ on Instagram
Log into the Instagram profile on a mobile phone.
If you haven’t already, convert your Instagram profile to a Professional Account — and set it to Business.
Go to Settings then click Privacy.
Click Messages.
Click the toggle so that Allow Access to Messages is enabled.
You can learn more about using Instagram with Inbox in the Instagram section of our Help Center.
