Setting up the Sailthru connector
Apr 18, 2023
To set up the Sailthru connector, you'll need to be logged into both your Sailthru and Taxi accounts. You'll also need your Sailthru API Key and Secret credentials.
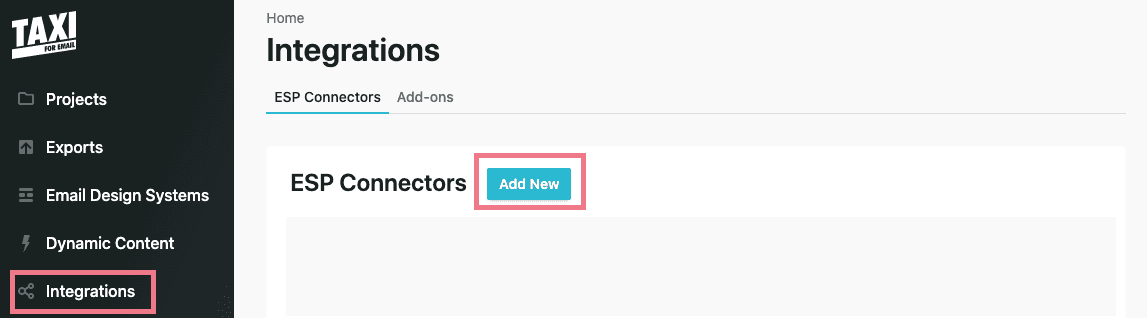
In Taxi, head to Integrations
Select the ESP Connectors tab.Click 'Add New'
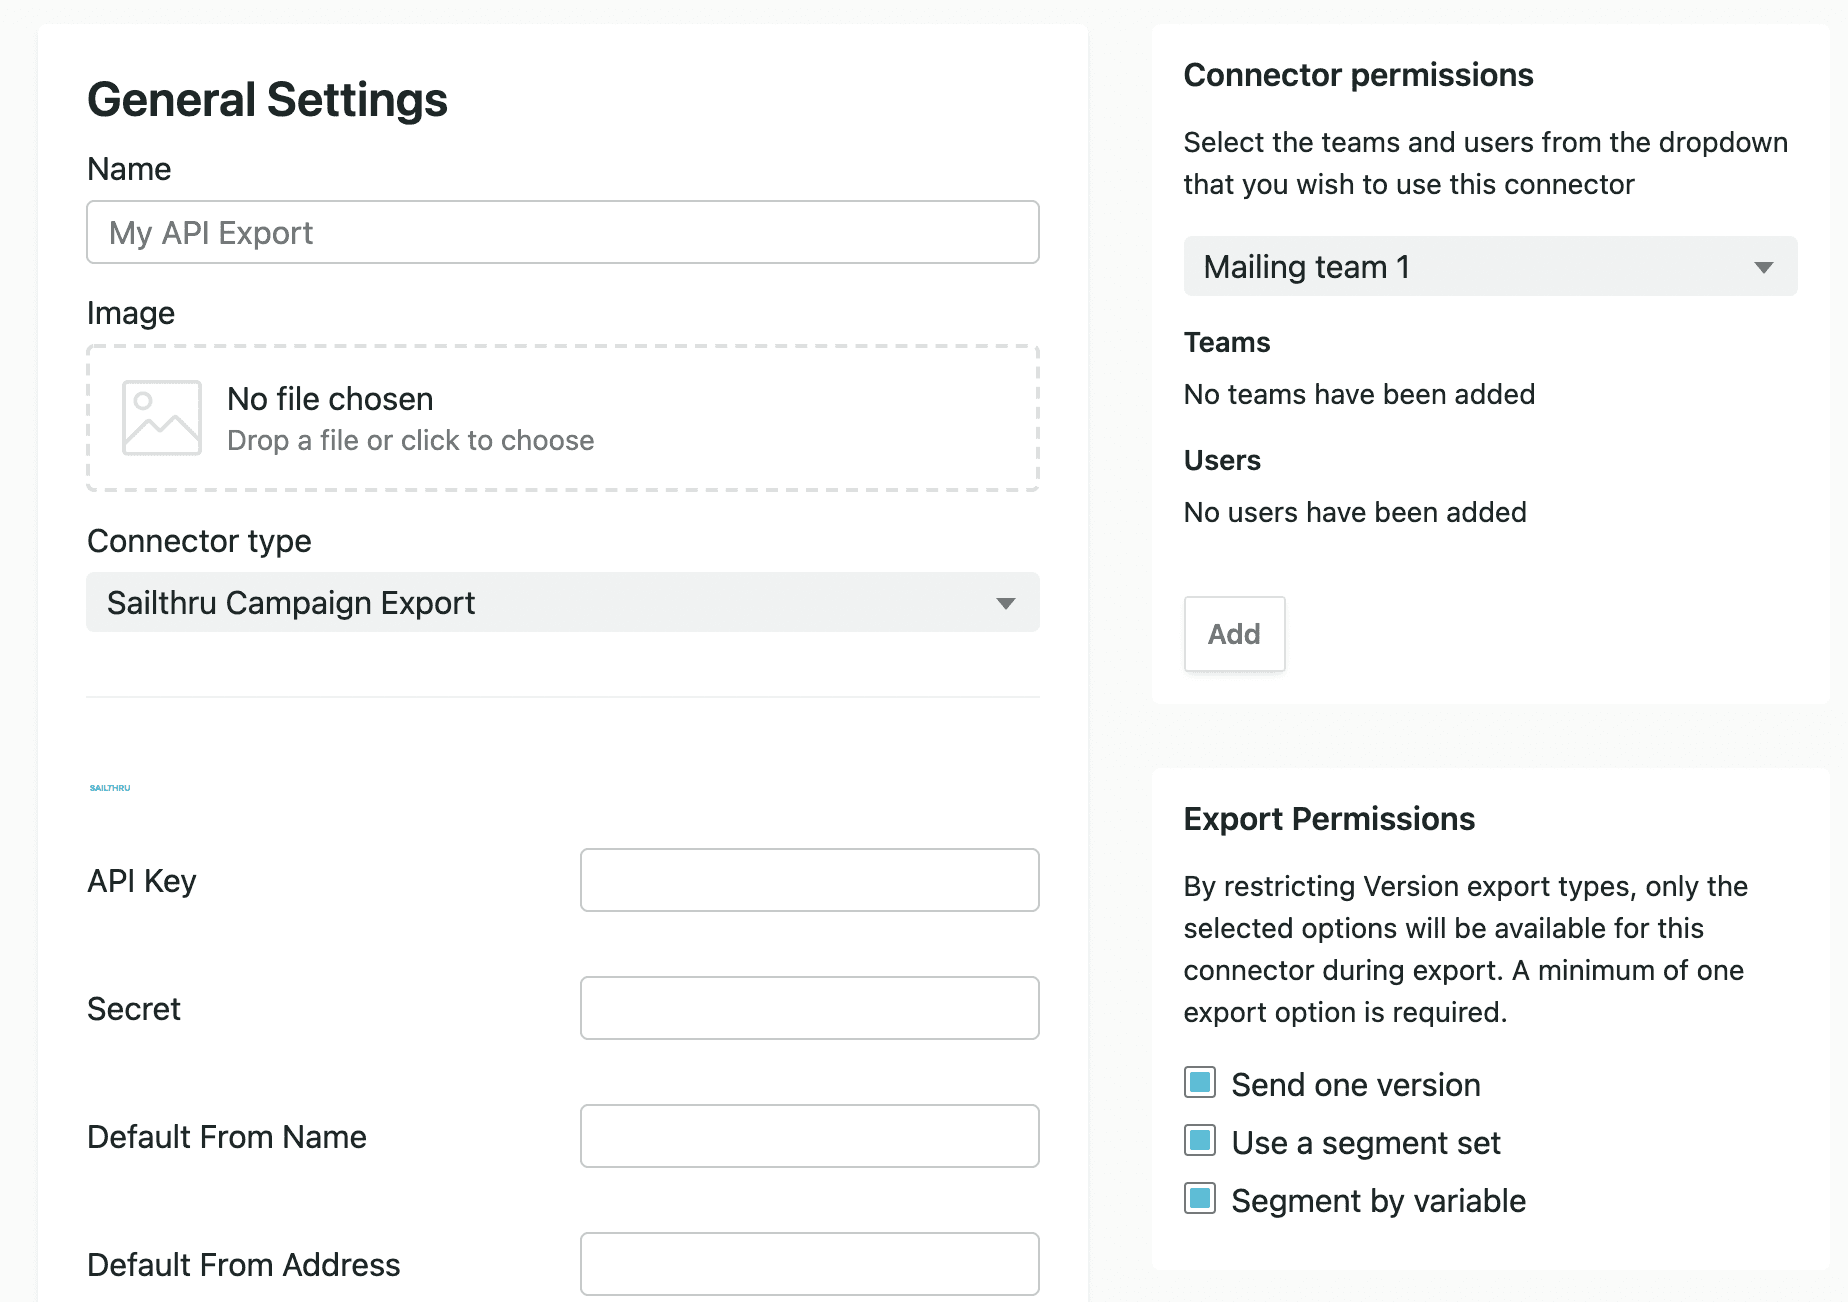
Select Sailthru from the dropdown. This will need to be enabled by Taxi. You'll need to name your connector.
3. Click 'Sailthru' to edit the connector settings
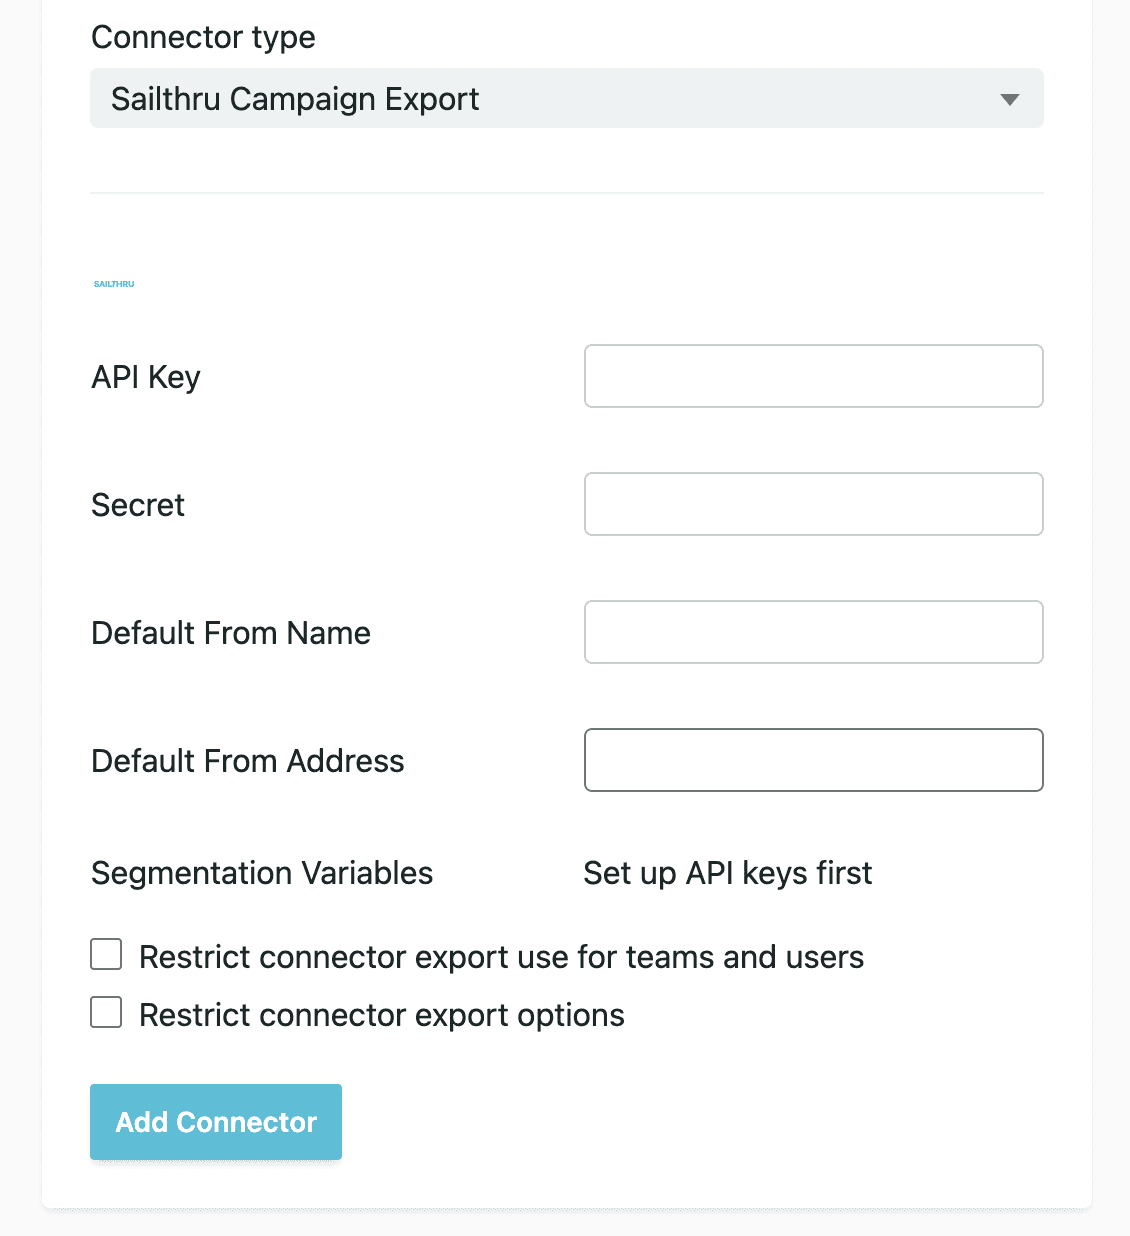
4. Paste your API key and secret
These can be found under the Settings menu in your Sailthru account.
5. Add your default campaign from name and address Taxi will add this information to your mailings on export.
6. Select if you want to set some restrictions for this connector
You can control who can use the connector and also what type of exports users can export. When these are selected you will see the options to the right of the screen where you can add users and teams and select the export types.
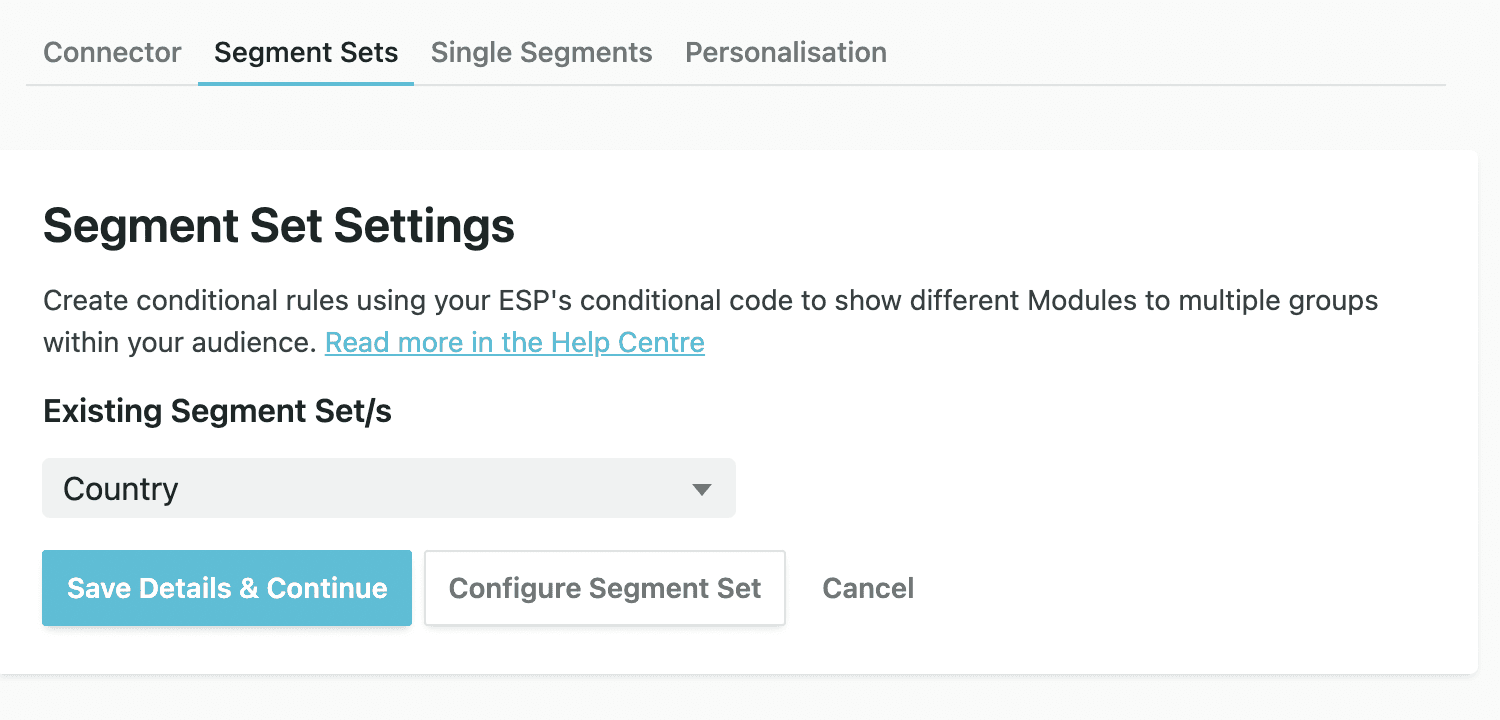
6. Next, you can 'Save Details & Exit' to complete the connector set up or you can set up Segmentation and Personalisation for this connector by clicking 'Save Details & Continue'
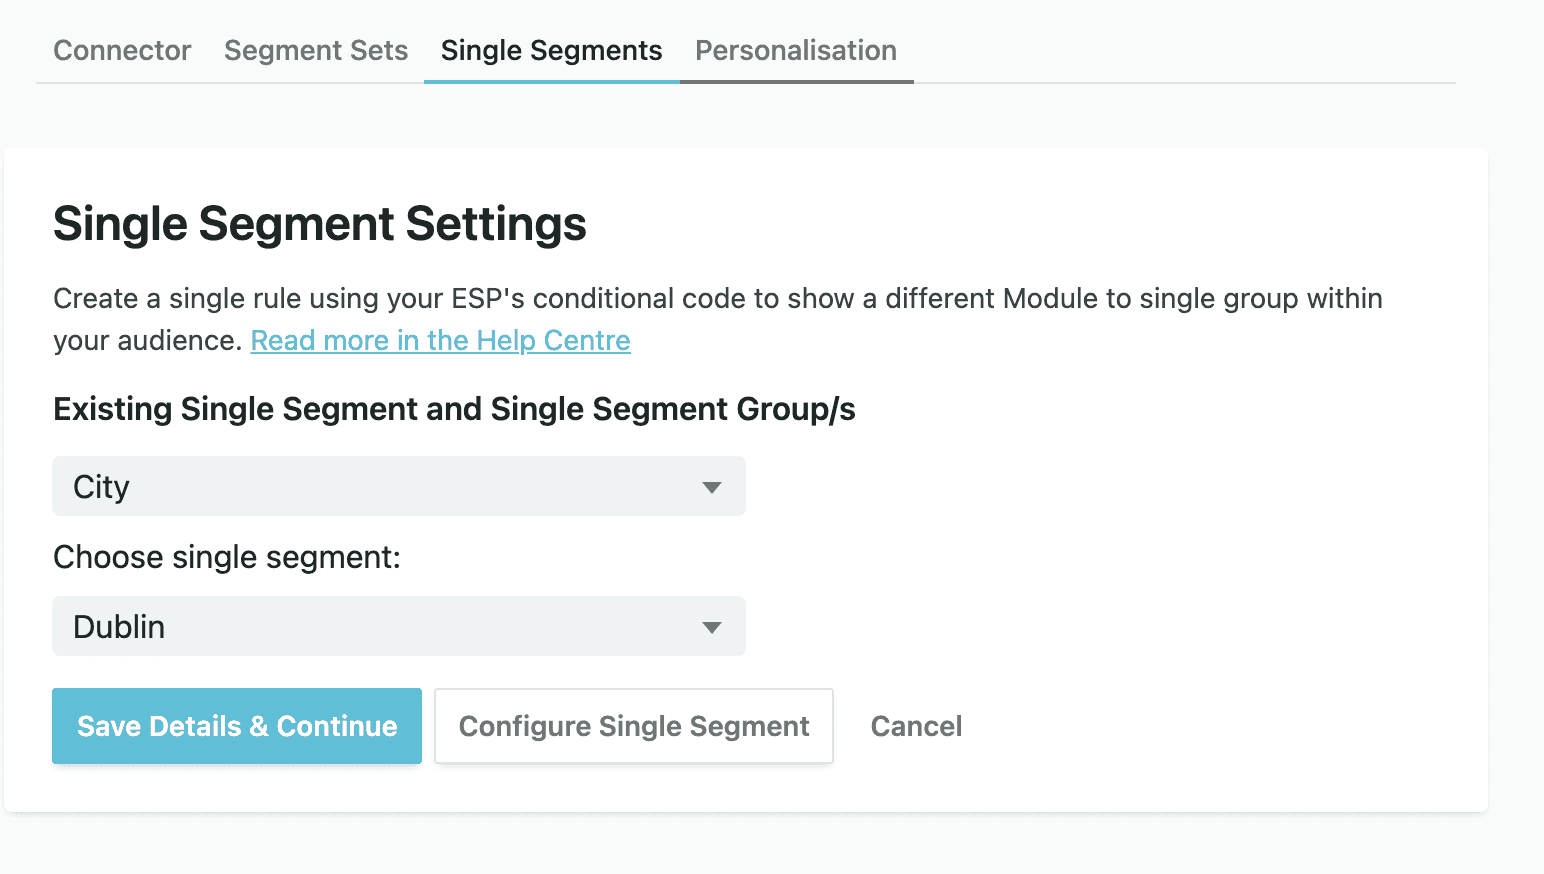
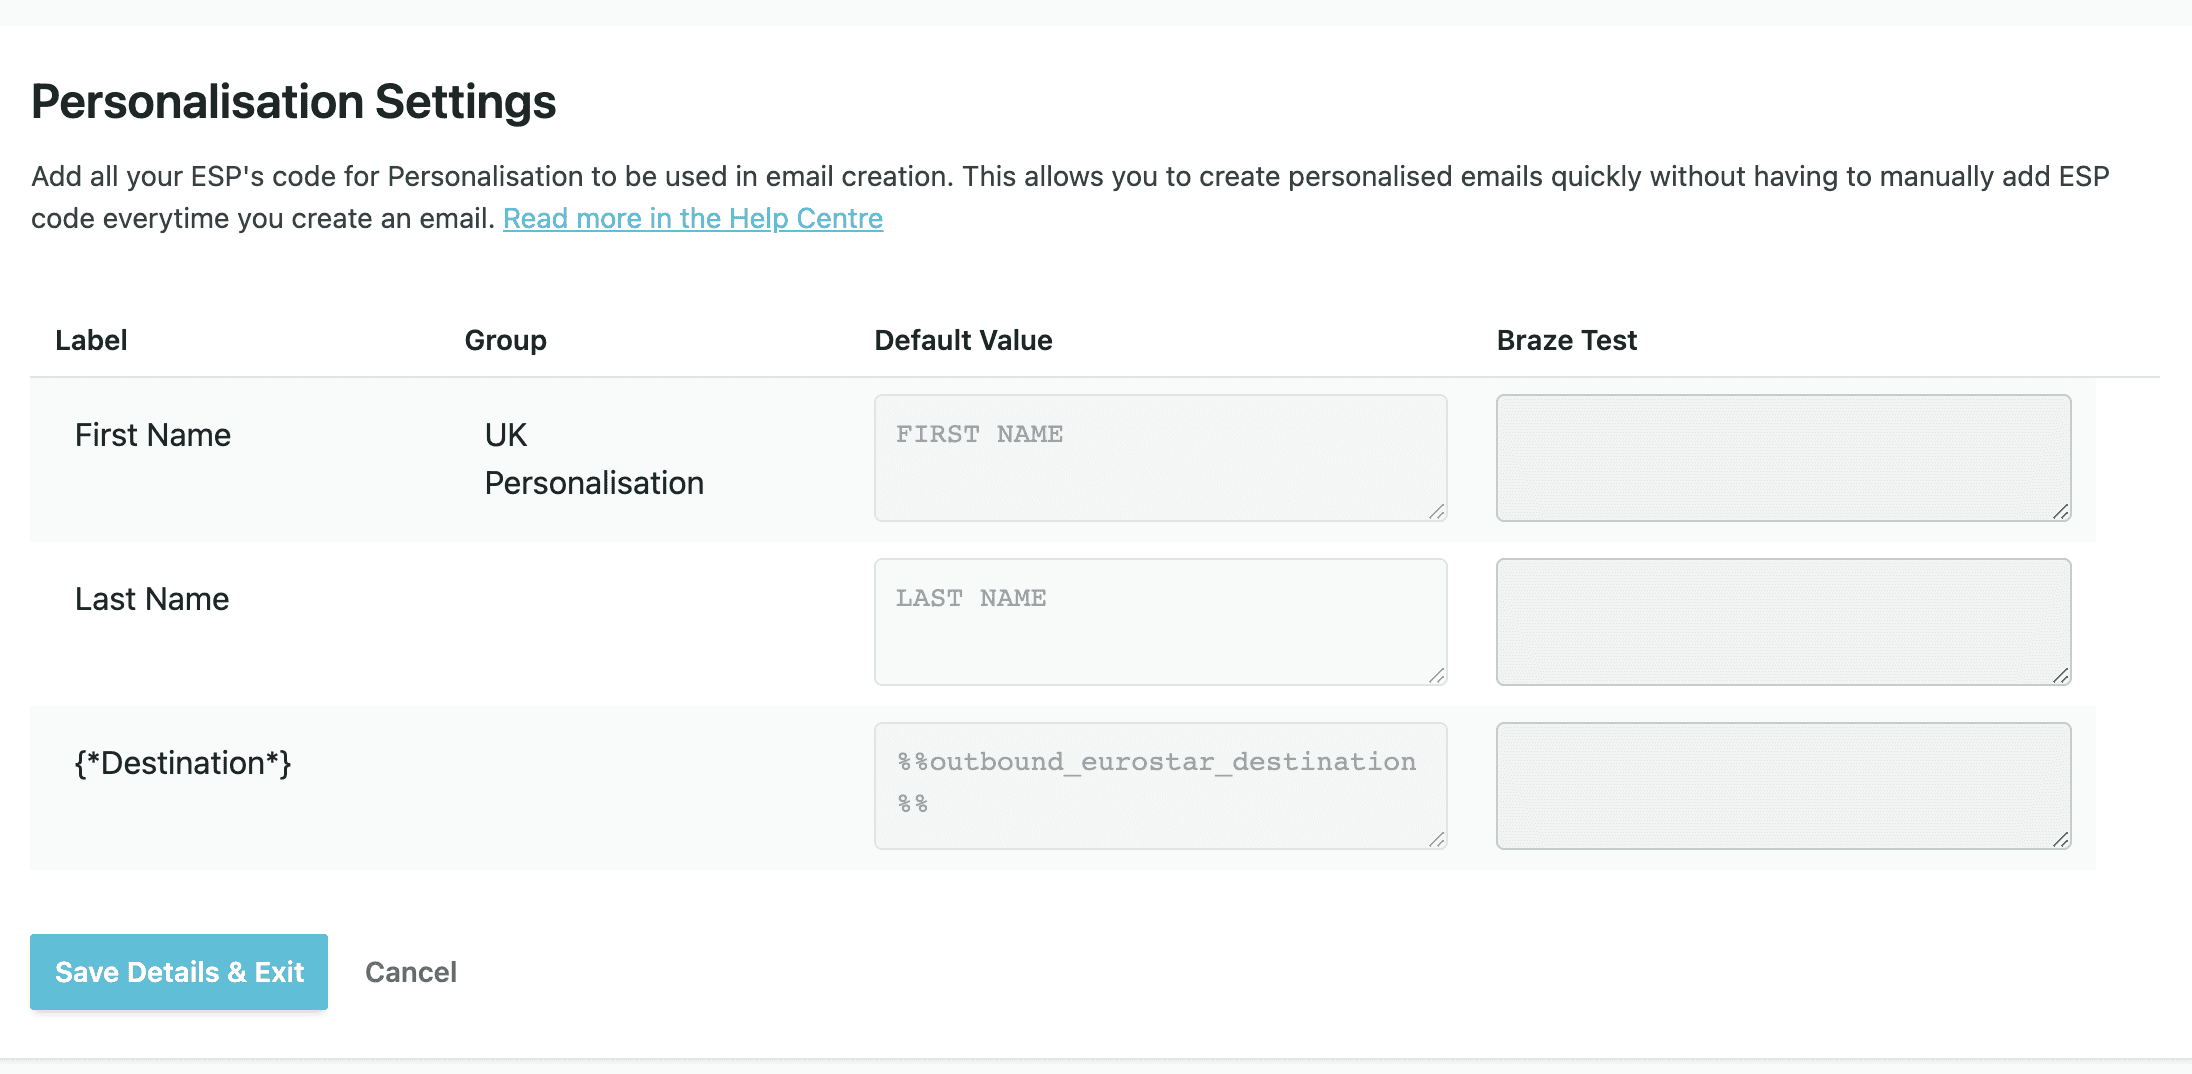
If you continue setting up you will be brought to the setup pages for Segments Sets, Single Segments and Personalisation. Once these are added choose to save and continue on each page and then finally save details and exit.